Let’s create your badges and bag tags
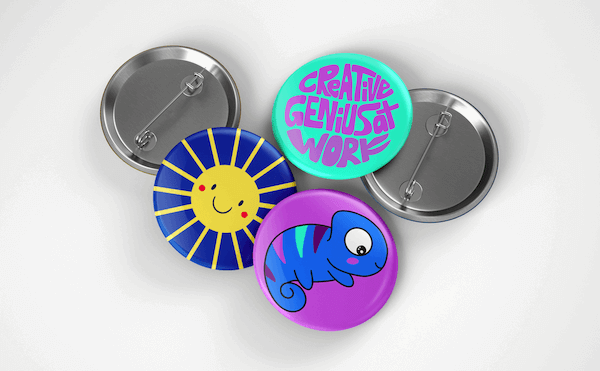
You’ve probably spied the badges and bag tags over in our studio shop right? and now want to order some of your very own. I’m here to make sure that you know the steps to do it.
Let’s make sure this is a smooth process, with the ‘step-by-step guide on how to create your custom badges and bag tags’…..that’s a mouthful isn’t it?!?
First Question…
How do you want to create your designs?
Option A: On paper? Option B: Using Canva? or Option C: Using Procreate?
Answer this and then jump to the corresponding instructions below.
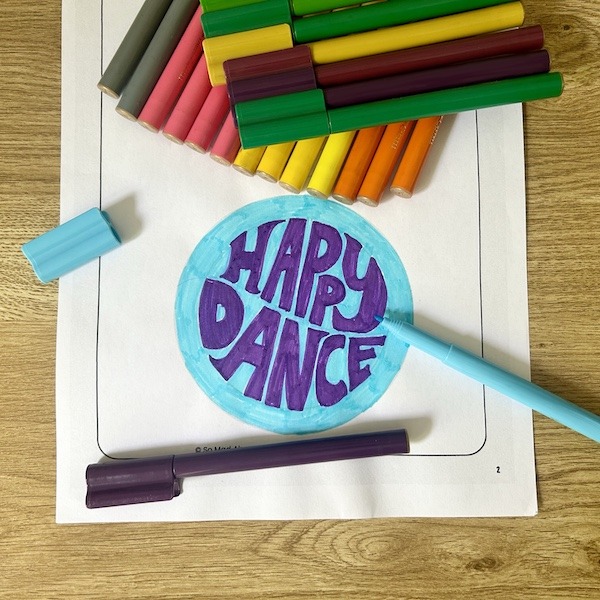
Option A: Traditional Paper Template
- Download the Paper Template: Start by downloading the paper template here and print it out.
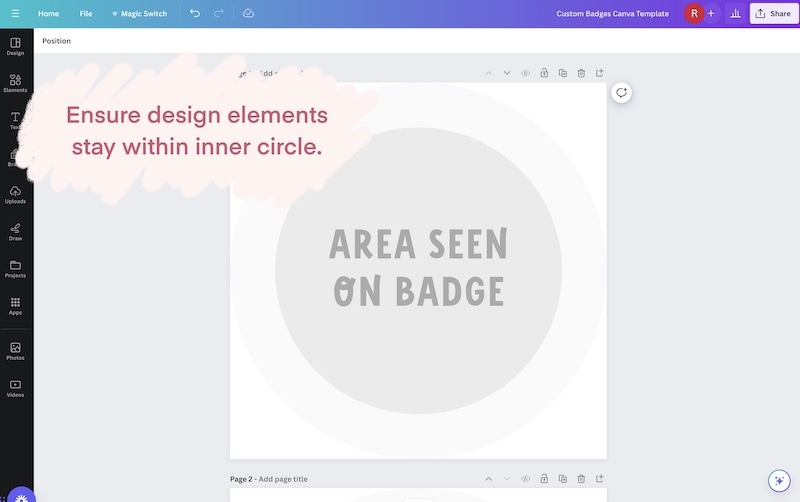
- Design Your Badge/Bag Tag: Draw, colour, and decorate your design within the template’s borders. *Note: only what is visible within the inner circle will 100% be seen, the outer edge may be cut off in the process of making your products. Take your time and make it uniquely yours.
- Capture Your Creation: Once your design is complete, scan the paper or take a clear photo of it. Ensure good lighting for the best results.
- Send Your Design: Attach the scanned image or photo to your order or email it to [hello@somadaboutdesign.com]. I’ll take care of the rest!
Option B: Canva Template
- Access Canva Template: Click below to access the Canva template. If you don’t have a Canva account, sign up for free HERE.
**New to Canva? Learn the ropes in this beginner tutorial HERE. - Design in Canva: Customise your badge/bag tag using Canva’s user-friendly tools. Add images, text, and colours to match your vision.
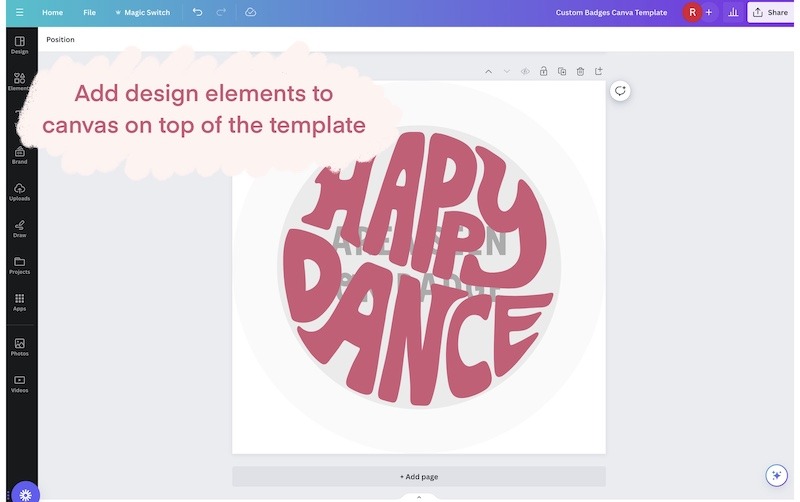
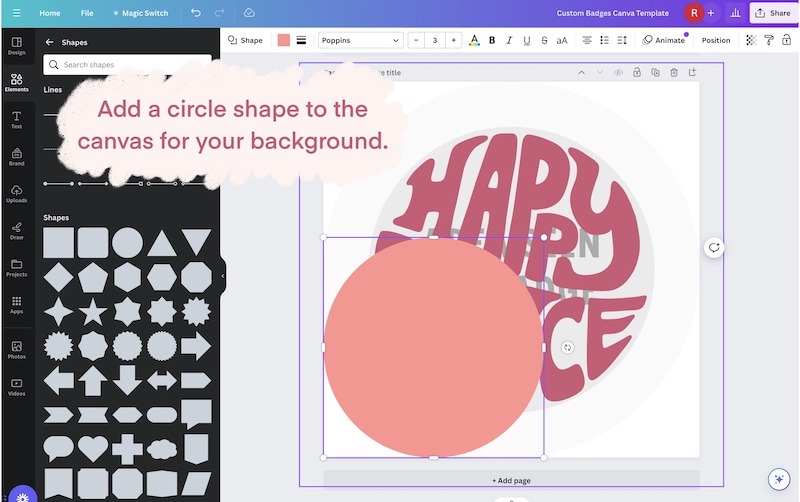
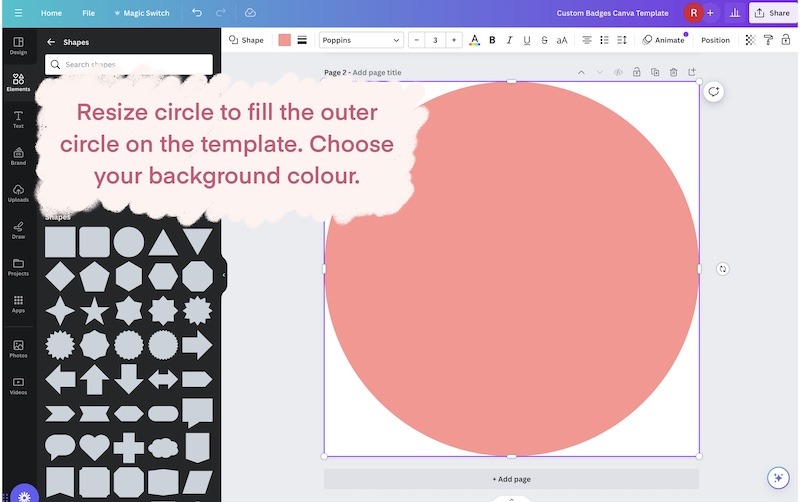
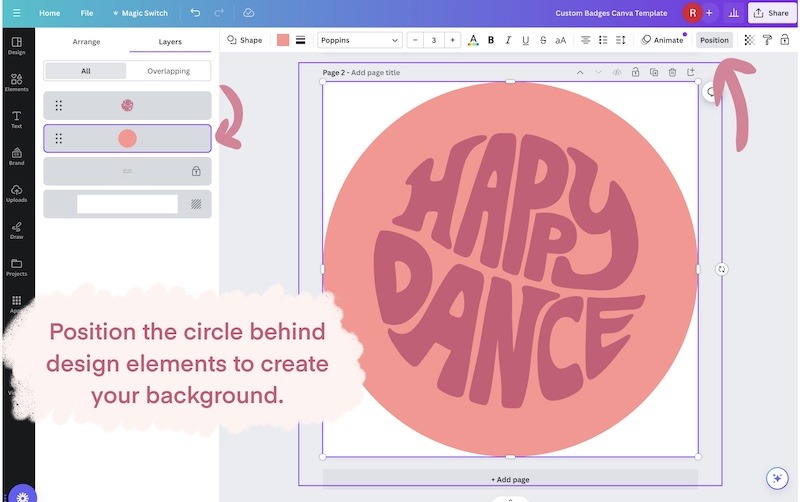
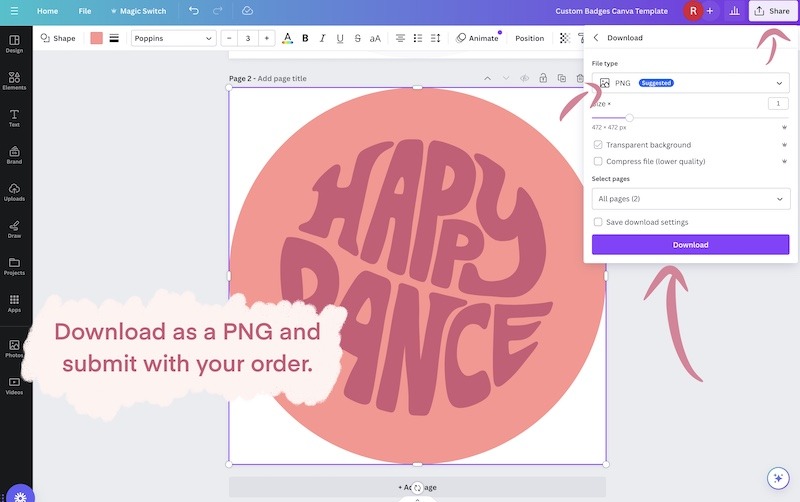
NOTE: The guidelines in the template have been “locked” (they won’t move), so you can create your design on top, using the template as a guide. Tip: arrange your elements on the template first, ensuring they stay within the area which will be seen on your badge. Then, add a circle frame or shape the same size as the template for your background and move this layer below your other elements to complete your design (see screenshots below). - Download as PNG: Once your design is ready, download it as a PNG file. This ensures the best quality for printing.
- Submit Your Design: Upload the PNG file during the ordering process or email it to [hello@somadaboutdesign.com]. I can’t wait to see your creation come to life!
Option C: Procreate Template
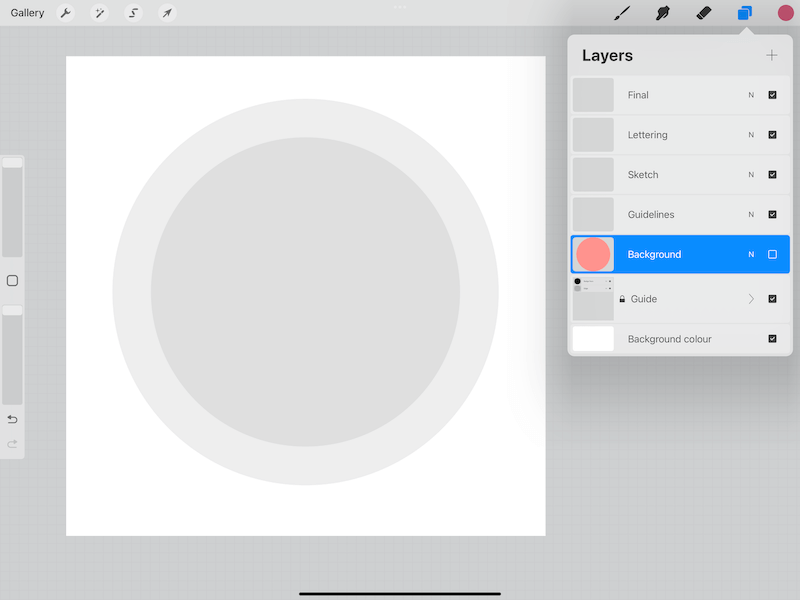
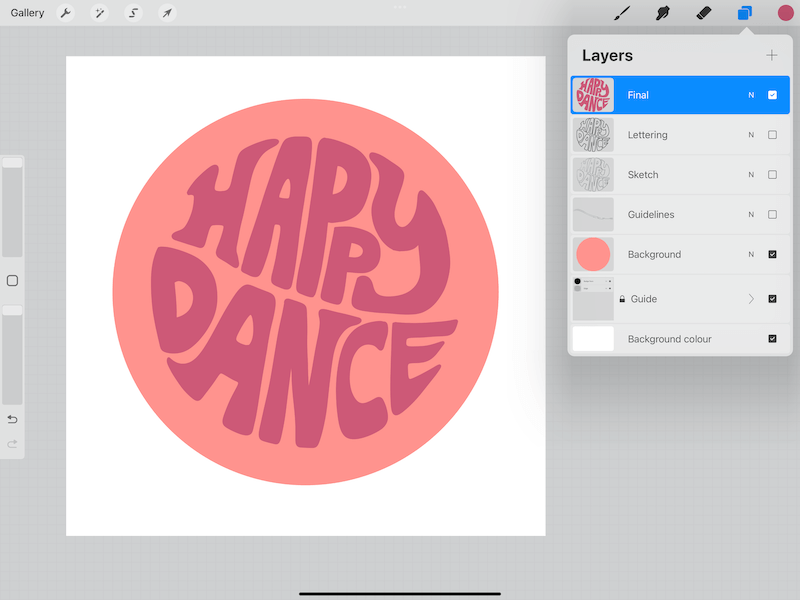
- Access Procreate Template: Open this webpage when using your iPad. Click the button below to download the Procreate ZIP file. Open the ZIP to access the Procreate file, double click this to import the template to Procreate.
**New to Procreate? Learn the ropes in this beginner tutorial HERE. - Design in Procreate: Use Procreate’s tools to craft your design. Experiment with brushes, colours, and layers to make it perfect.
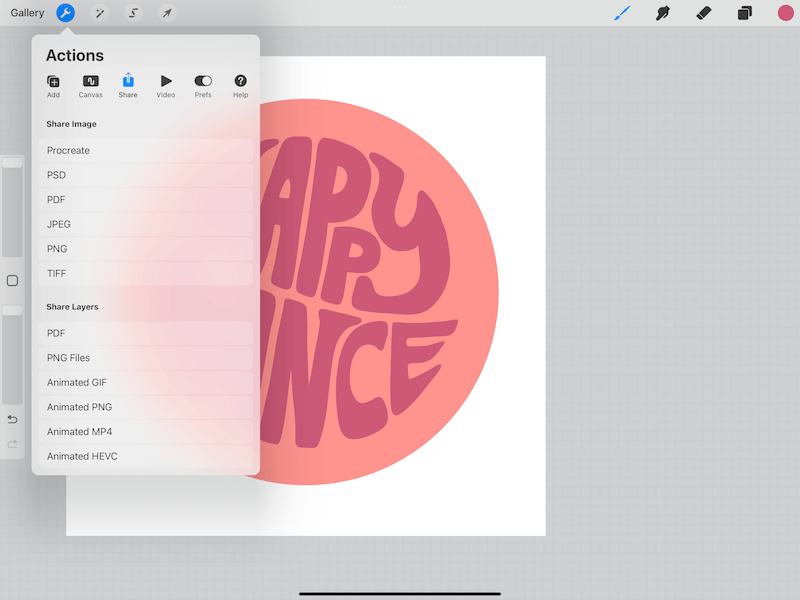
- Export as PNG: Once happy, export your masterpiece as a PNG file.
- Submit Your Design: Upload the PNG file during the ordering process or email it to [hello@somadaboutdesign.com]. I can’t wait to see your creation come to life!
- Open Template in Procreate
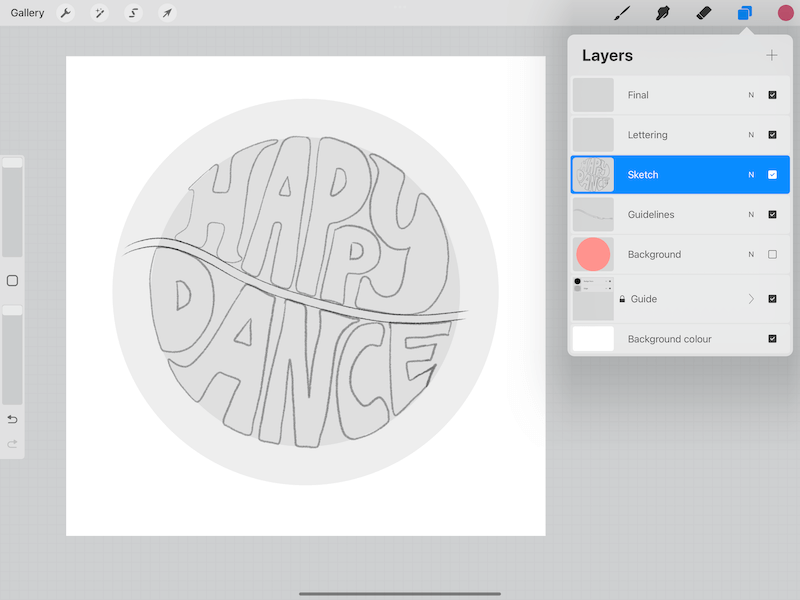
2. Sketch out your design.
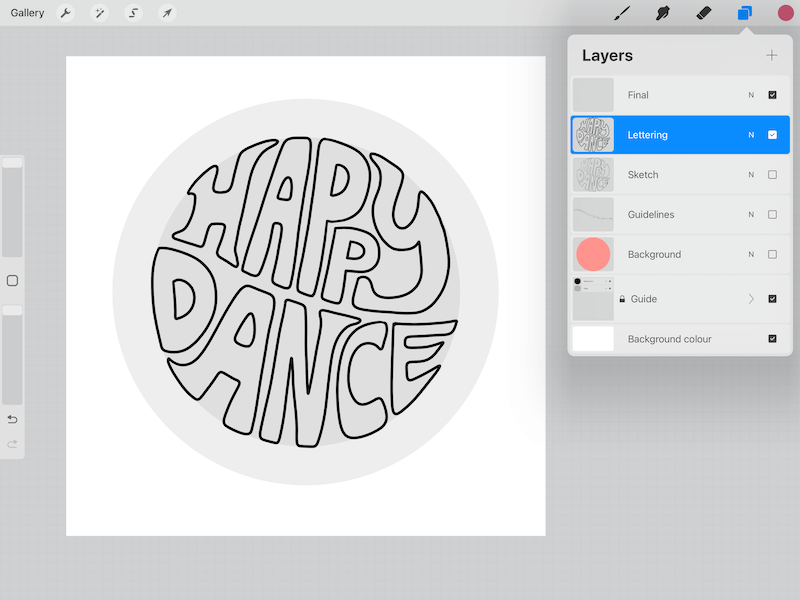
3. Refine your design
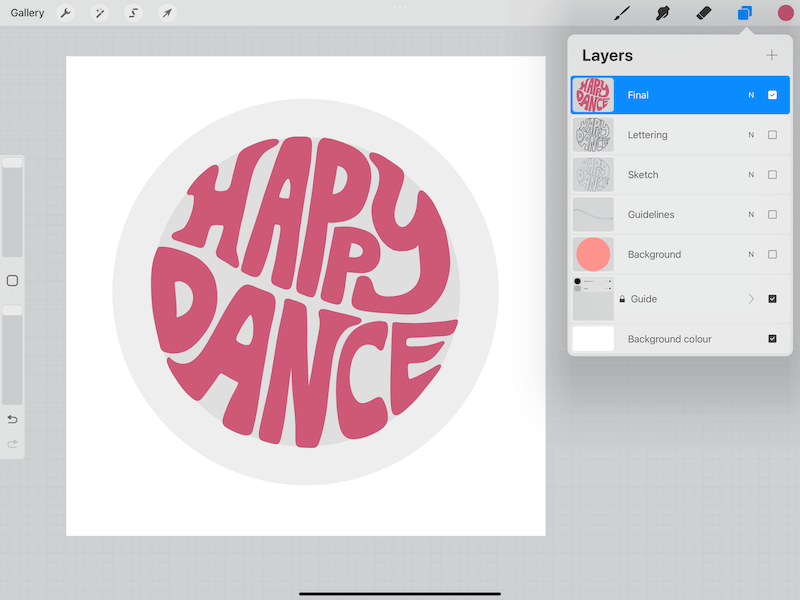
4. Colour your design.
5. Add and colour your background circle.
6. Export your design as a png and submit with your order.
Got any questions? Send them my way 👉 hello@somadaboutdesign.com, and I’ll get back to you in a jiffy.
[You may not resell or redistribute these templates, claim or copy them as your own, and/or alter in any way. Copyright stays with So Mad About Design]
