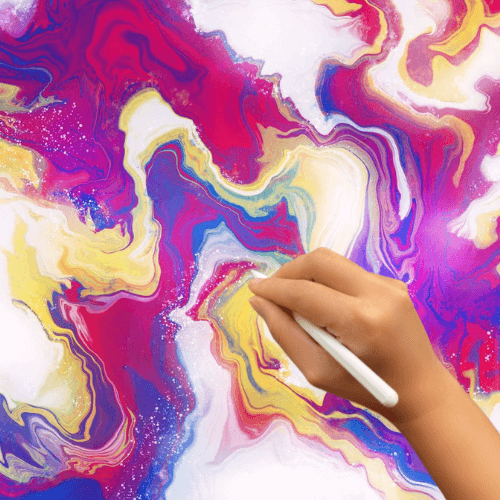
Digital Marbling in Procreate
A beginners Procreate tutorial.
Don’t worry if you’re new to this – I’ll show you everything step by step. You’ll be amazed at the mesmerising designs you’ll make!
Just grab your iPad with Procreate, and let’s get started.
Who These Tutorials Are For:
-
Kids, tweens & creative teens.
-
Total beginners (no design experience needed!)
-
Parents supporting creative learning at home.
-
Teachers or homeschoolers introducing Canva in class.

Let’s Get Marbling!
Want to create colourful, swirling artworks that looks like real marbled paint — but without the mess?
In this fun and beginner-friendly Procreate tutorial, I’ll show you how to create digital marbling using the Liquify tool. You’ll learn how to get started, choose your brushes, swirl and distort your “paint”, and layer in bold colours to make your marbling stand out.
It’s perfect for experimenting, relaxing, and letting your creativity flow — especially for tweens, teens, and creative beginners exploring Procreate for the first time.
Watch the video below to guide the way and get yourself familiar with marbling in Procreate.
You can also use the steps below to follow along:
OPEN TO FOLLOW STEP-BY-STEP 👉
- Use these steps and time stamps, if you need to refer back to something in particular:
- What you need- 0:34
- Marbling black & white – 0:55
- Brush Choice- 1:02
- The liquify tool- 1:34
- Push- 1:56
- Momentum- 2:25
- Distortion- 2:40
- Twirl [Right/Left]- 3:08
- Twirl + Distortion- 3:28
- Pinch & Expand- 3:40
- Using the Pinch tool- 5:49
- Marbling with Colour!- 4:04
Go MAD and get creative with Procreate!
I’d love to see what you come up with 😍 get in touch at hello@somadaboutdesign

So MAD Marble Magic
Check out the below marbling efforts from other So MAD designers


